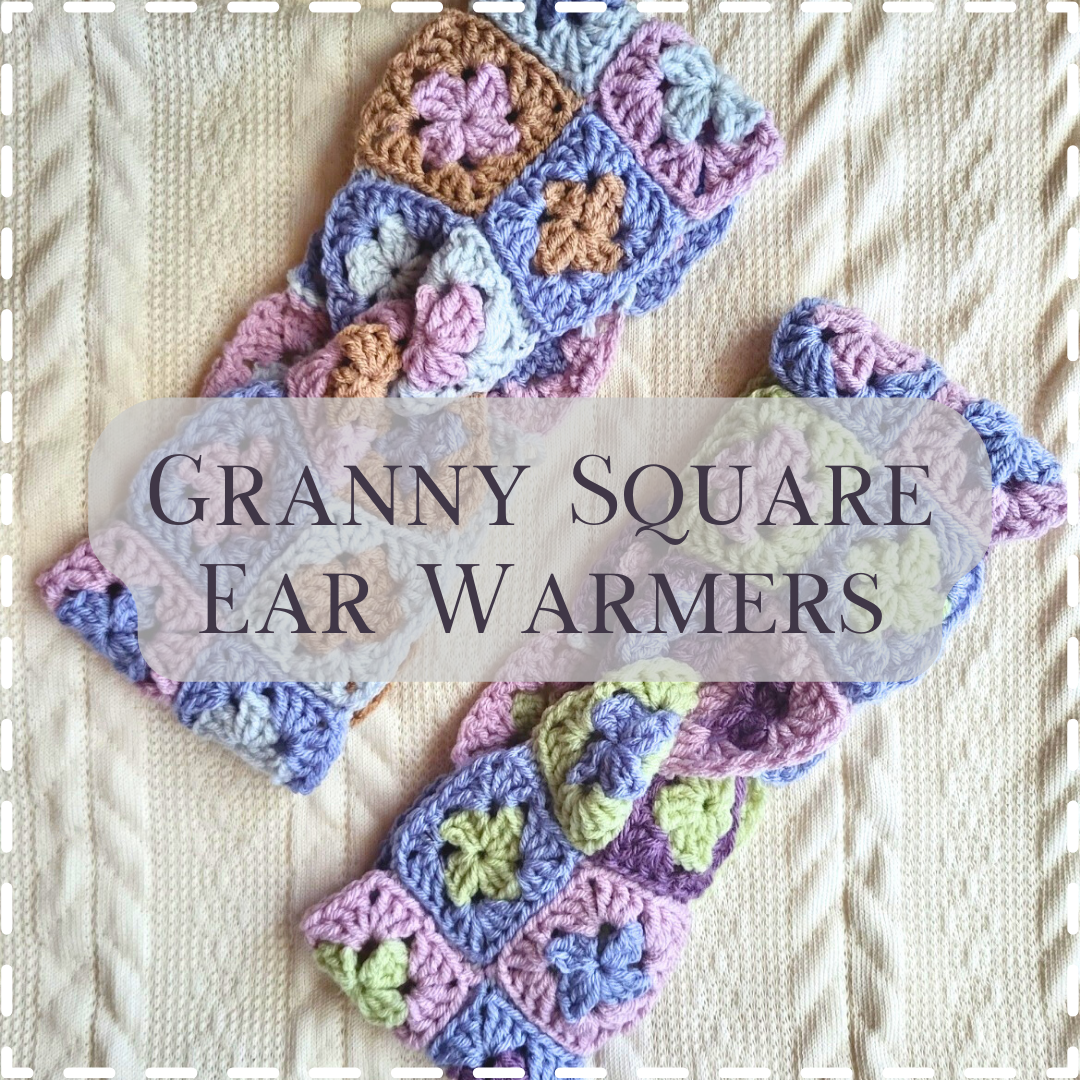
I realize I have it easy in California right now, but I know, it’s cold out there! Hopefully you’re keeping warm, but if not i’m also hoping that this easy scrap buster ear warmer project will keep you warmer!
This project looks so cute when it’s done, but I will admit, making and combining all these granny squares took longer than I orginally anticipated! It may have been because I got distracted trying to make sure that I evenly spread all the colors of yarn I had throughout. However, if you’re less worried about using yarn evenly, or matching colors, it would work up super quick!
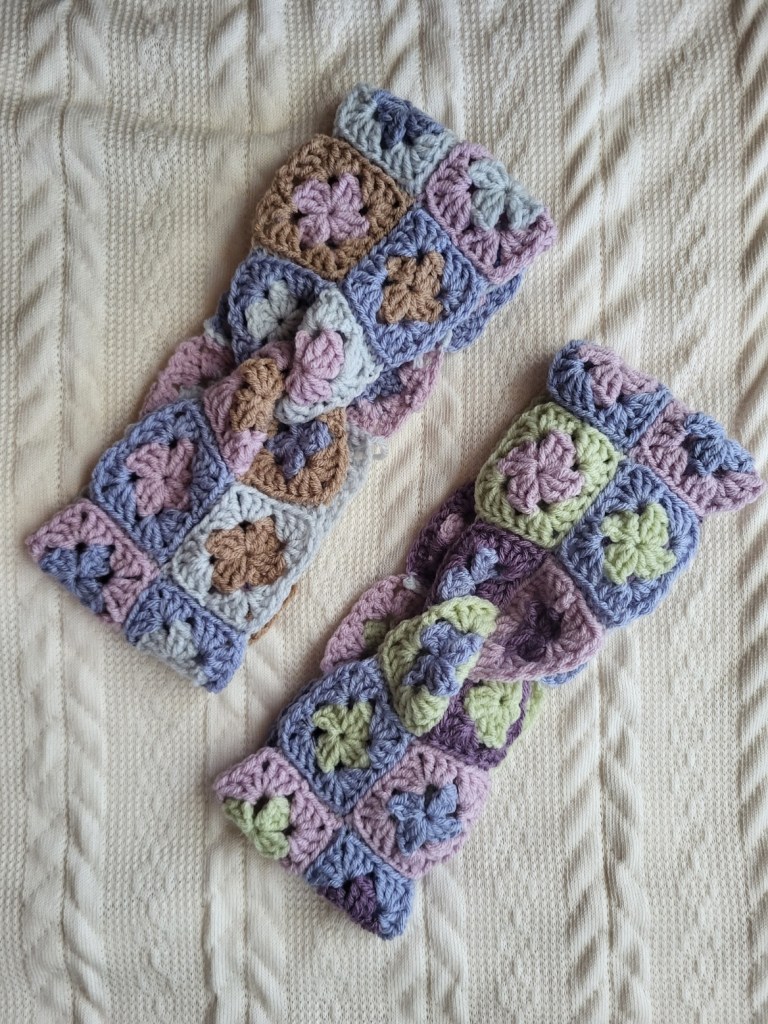
The indivual squares are absolutely adorable! Which is great, because you will need about 20 of them. I recently got a blocking board for christmas! However, only after I had already completed this project. If you feel like it, you can definately block all the squares once they’re made, and now that I’ve tried blocking, I highly recommend it! It was like when I finally started ironing my seams years after I began sewing. hehe oops! Having a perfectly square granny square is SO satisfying.
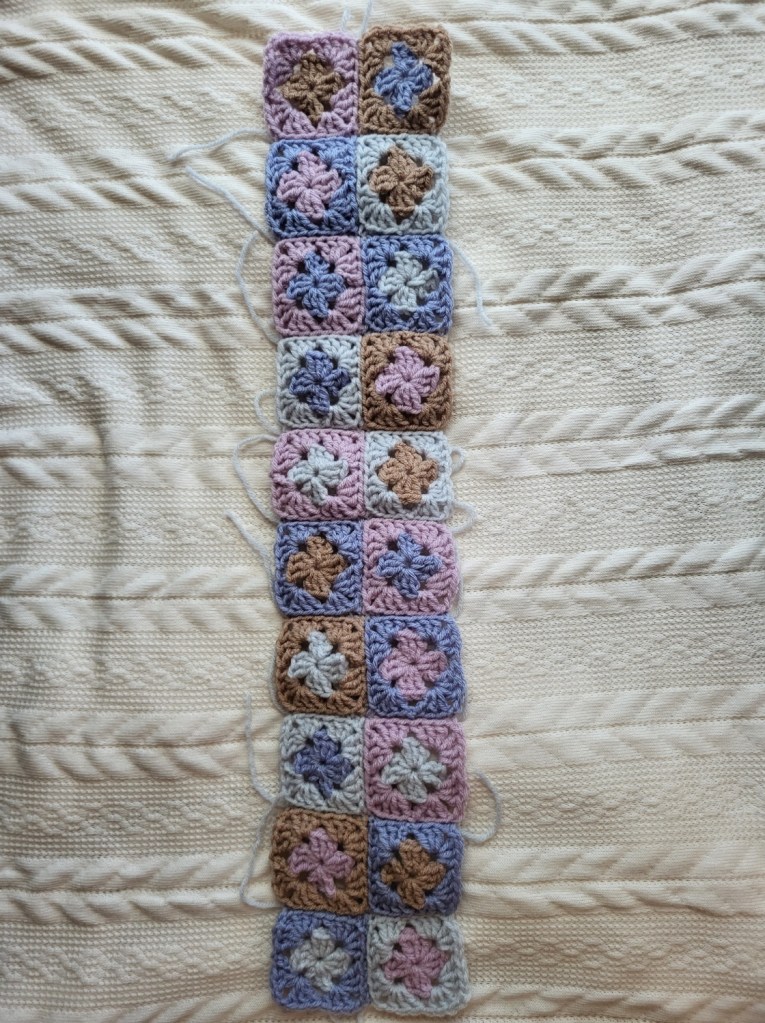
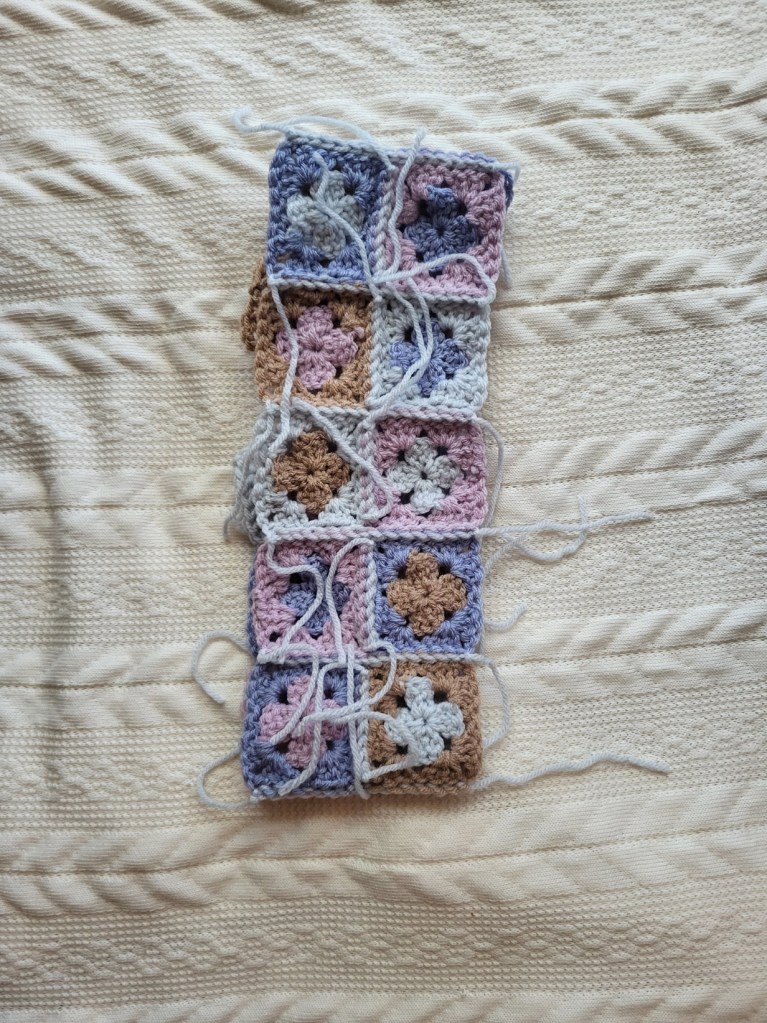
After way too long that I would like to admit, I finally made my 20 squares. As I mentioned before, the most time consuming part of the project was deciding where they all go! I wanted it too look random, and not have any of the colors touch each other too much. After I laid them all out I combined the squares with a single crochet.
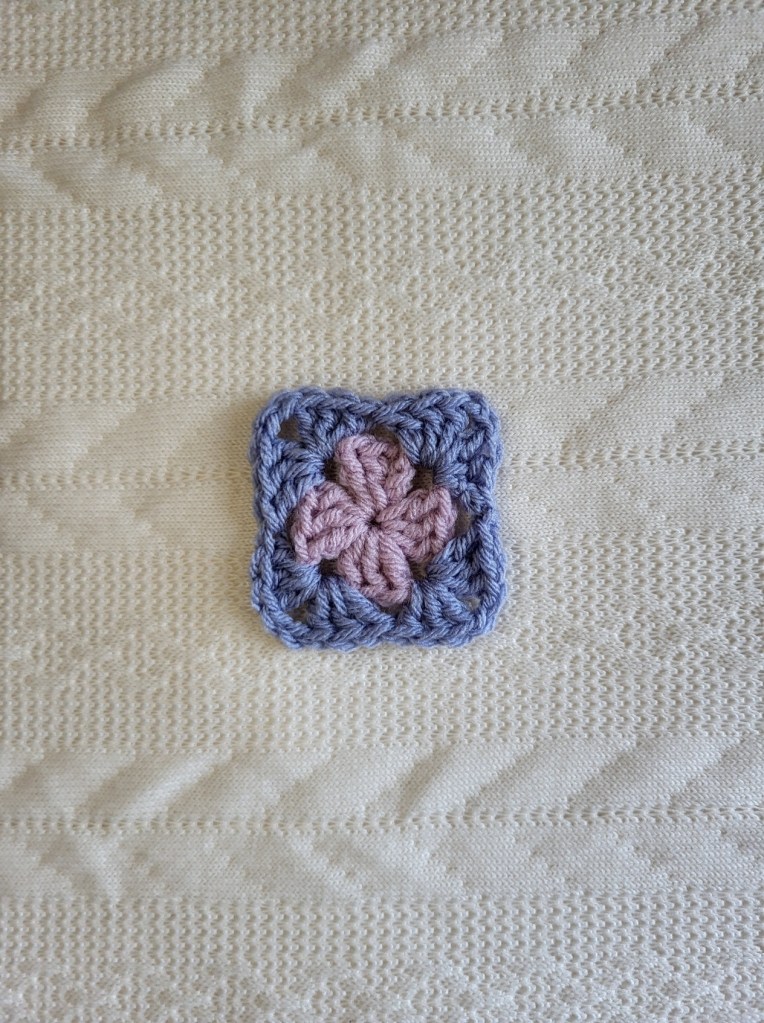
My favorite way to combine granny squares is using a single crochet with the back posts of the stitches. I like this way because it leaves the front stitches visible and keeps the edging look of the stitch. It looks similar to simply sewing the squares together, but it gives it a little more stretch than it would if you just stitched them.

To the eagle eye’d follower of my blog, this part of the pattern may seem very familiar! I have absolutely featured it before another project of mine, linked here. I think the twisty headband/ear warmer look is super cute, and while the project still looks handmade, it adds a touch of luxury and “store-bought-ness” (a phrase I just made up) to the piece.
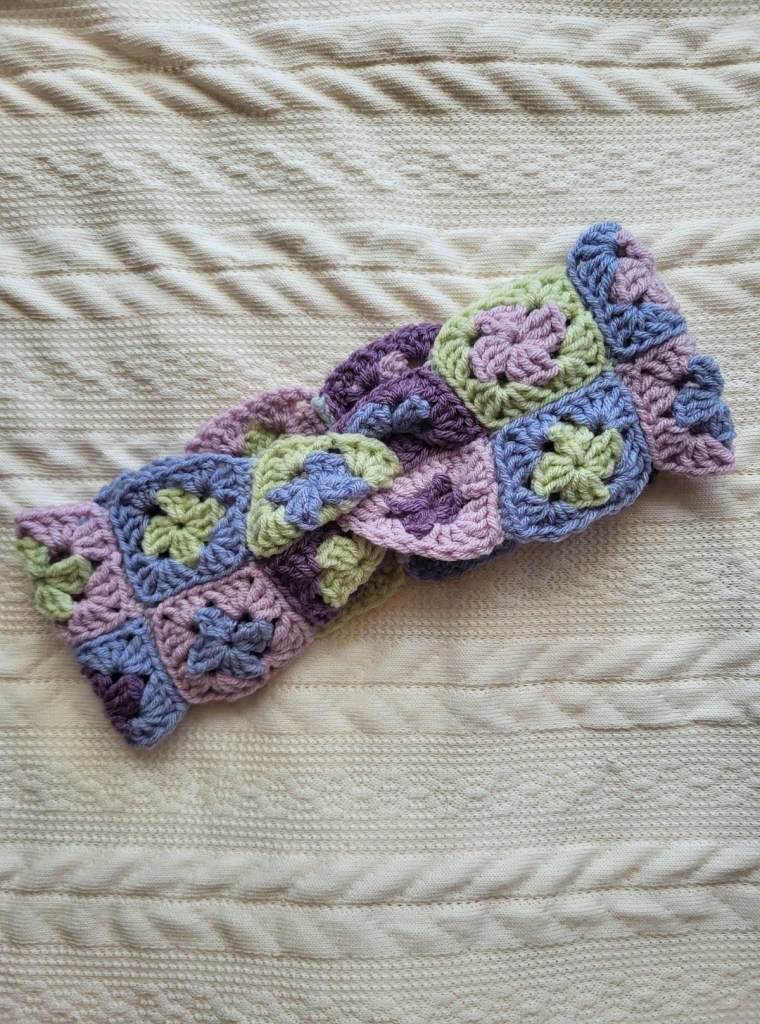
Here’s another colorway I did while making these. I think they’re super cute and easy and I hope you’re able to make your own as well! Share your version in the comments!
Pattern:
Materials:
4 skeins of worsted weight yarn, different colors, or scraps
Size 5.5mm crochet hook
Yarn scissors
Tapestry needle
Legend:
Ch – Chain
Dc – Double Crochet
Blo – Back Loop Only
Granny Squares (make 20)
Ch 4
Round 1: In 4th ch from hook [2dc, ch 2, *3 dc, ch 2* repeat twice more] sl st to join
Round 2: attach new color: ch 3 in any corner sp, in sp: [2dc, ch 2, 3dc, ch 2], in next 3 corner spaces: [3dc, ch 2, 3dc, ch 2] sl st to join.
Combining the Squares:
Join squares with sc blo, I made sets of 2 and combined those sets together. It might be easier to make 2 long chains of ten and then combine those two like the pictures above. Up to you!
To finish the headband to make the twist:
1. Fold right sides together, in half lengthwise.
2. Fold in half again so the two long sides meet. The two U shaped corners will interlock with each other to form the twist when you flip it right side out.
3. Sew through all 4 layers and secure ends.
