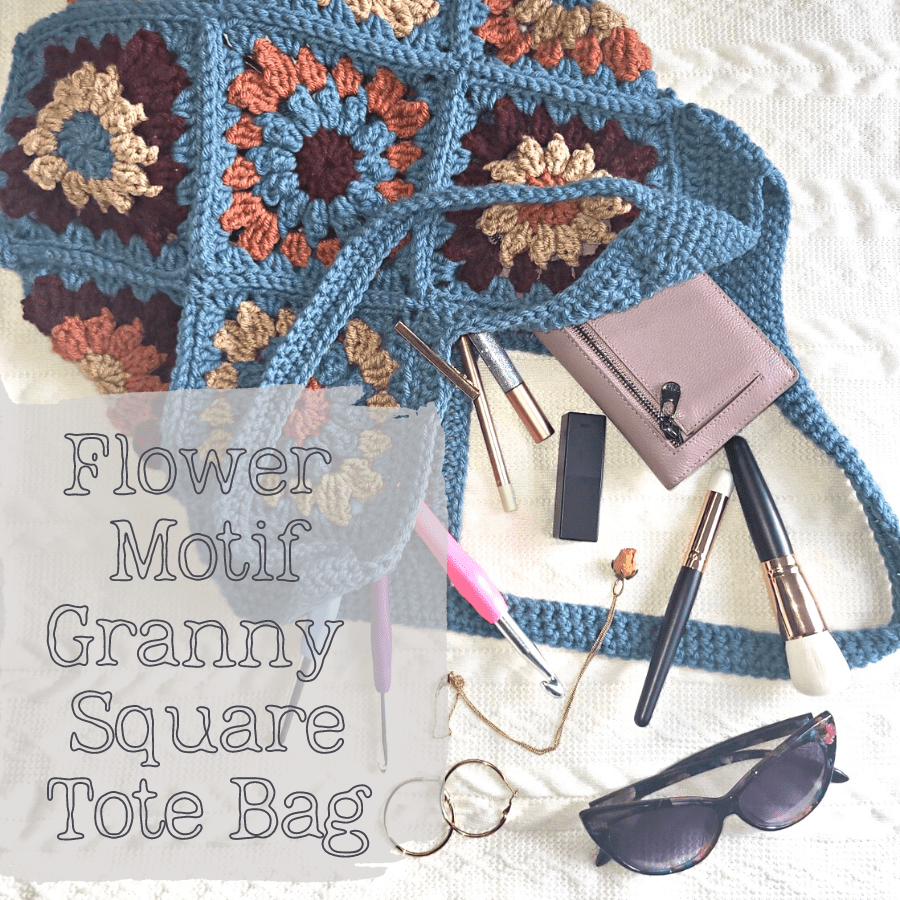

Sometimes you’re inspired by the finished project, sometimes you’re inspired by the yarn. In this case, I saw the Big Twist Cotton Blend yarn at my local Joann’s and fell in love. The skeins were so small though, I almost missed them! I used the colors Multi Wildflowers and Sand. I bought 4 skeins of Wildflowers (Which was all they had) and 3 of Sand. The solid colors had more yardage. Best believe I would have bought more of the variegated if they had it! 😅
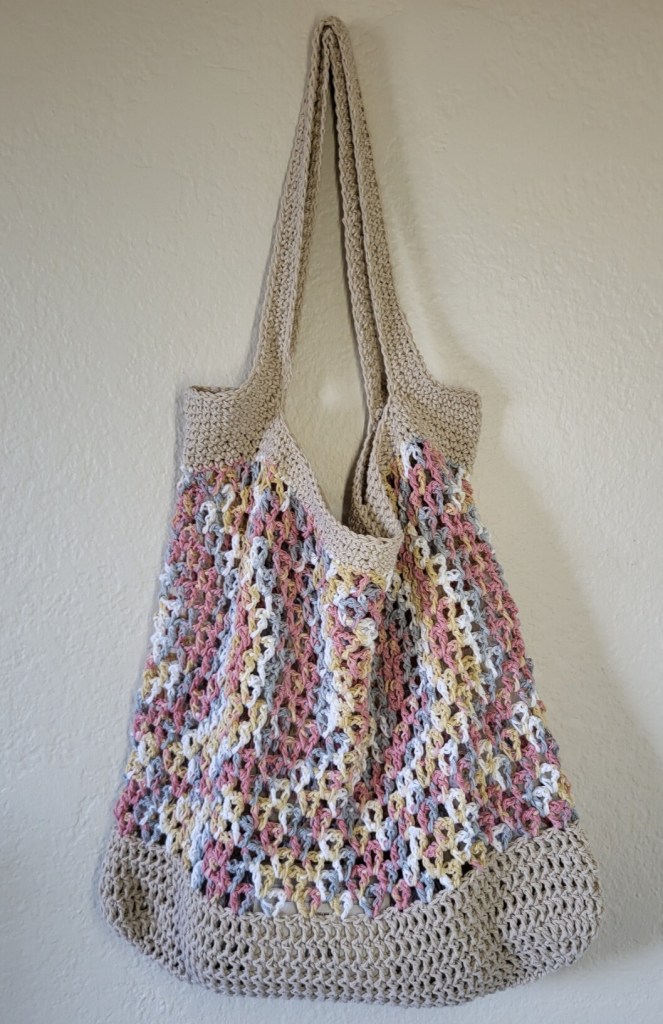
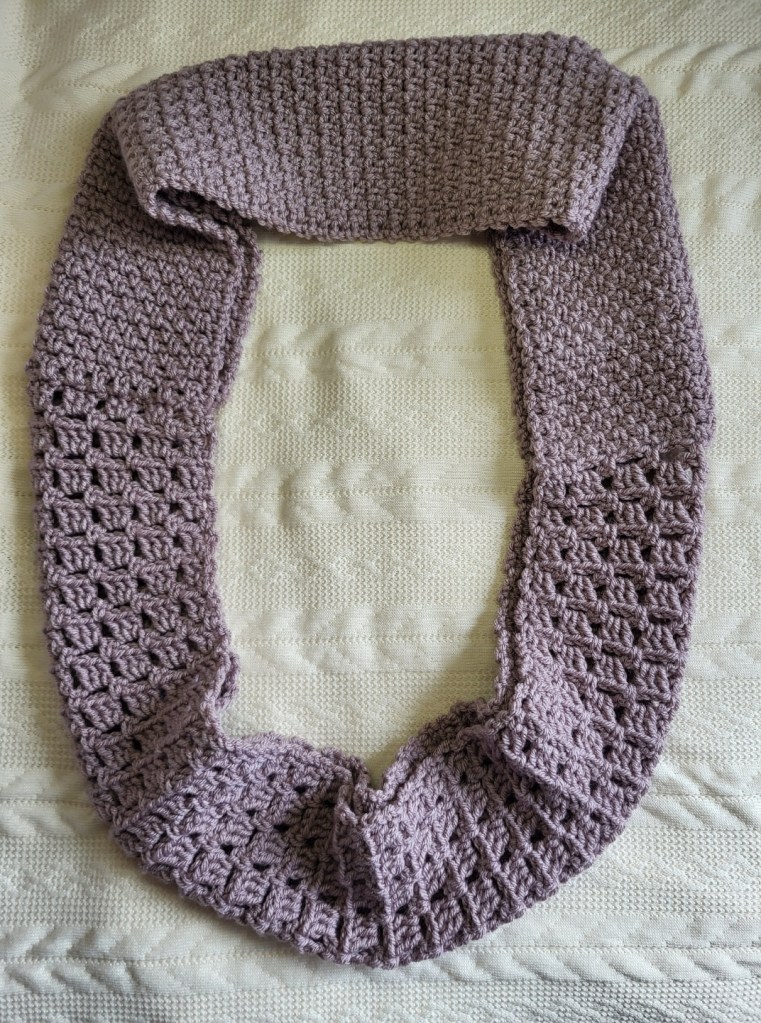
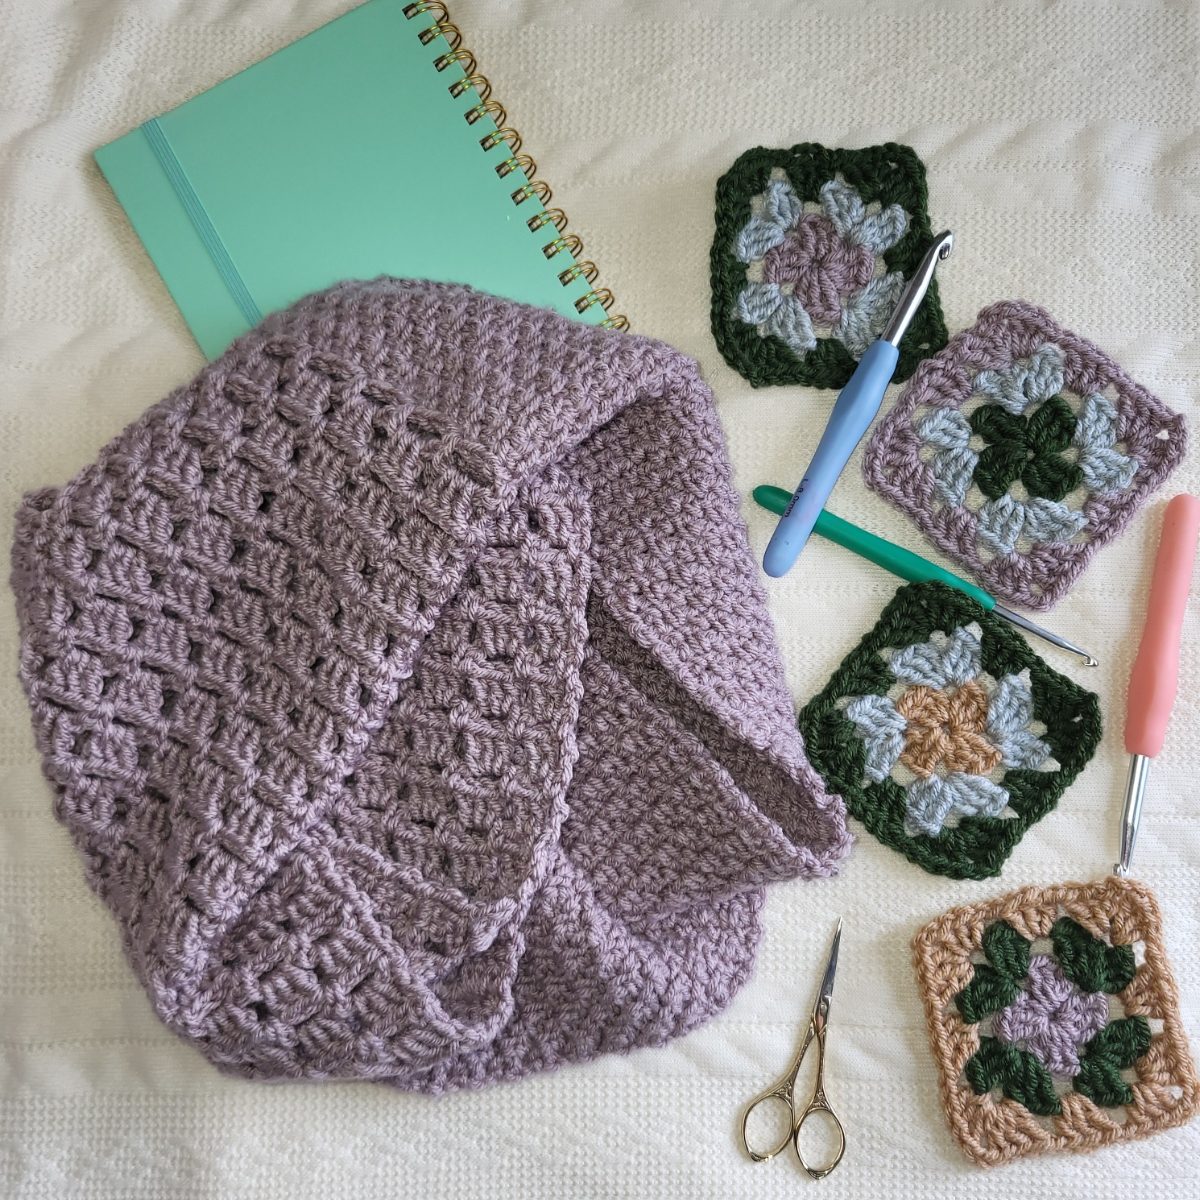
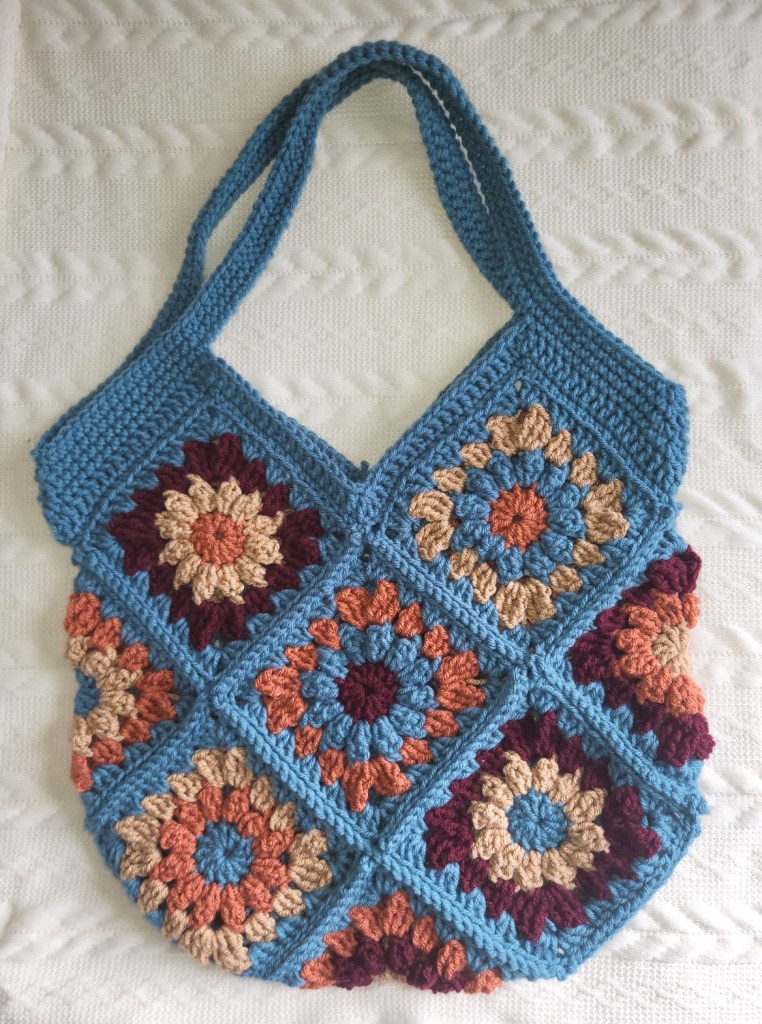
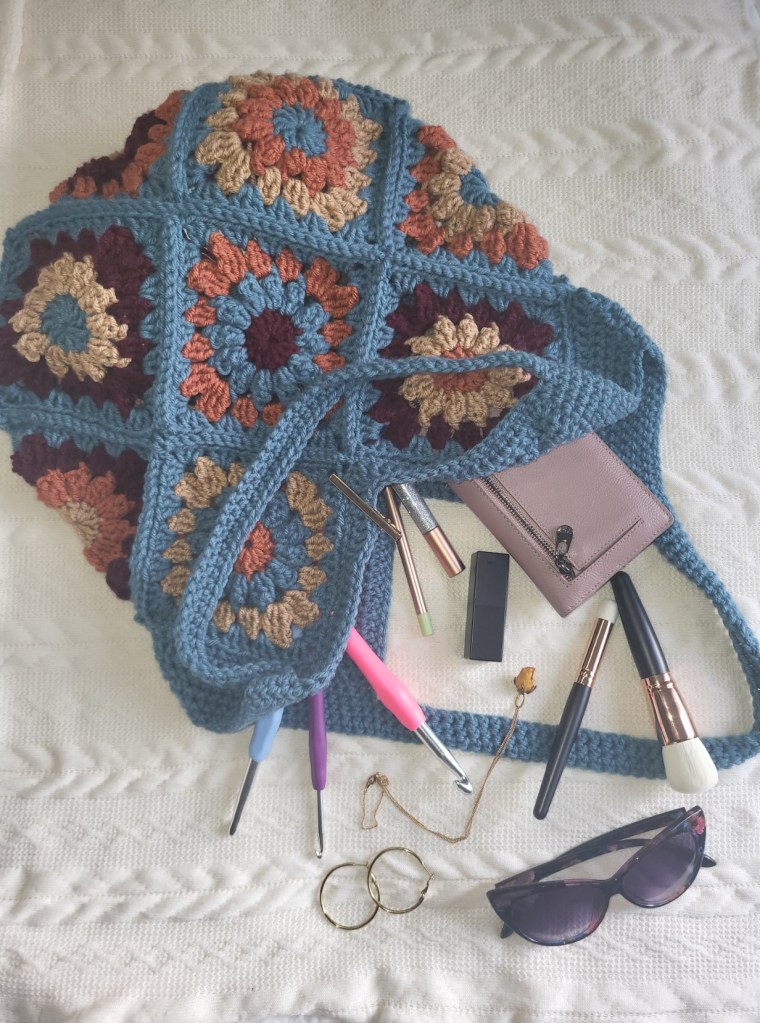
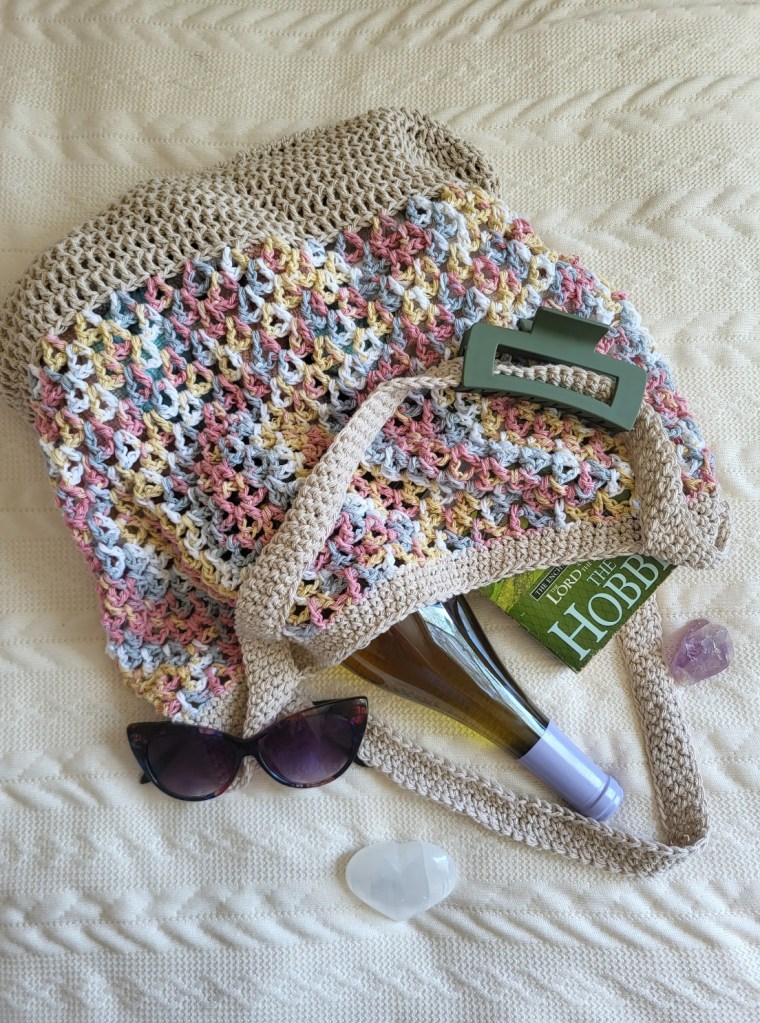
This tote took a longer time to make than I thought it would! Maybe because the yarn is so thin (or maybe I’m just slow) But it was still so fun to make! Working it up also made it a lot larger than I expected. But that was kind of nice! I’m so excited to take this with me to local markets or even the beach.
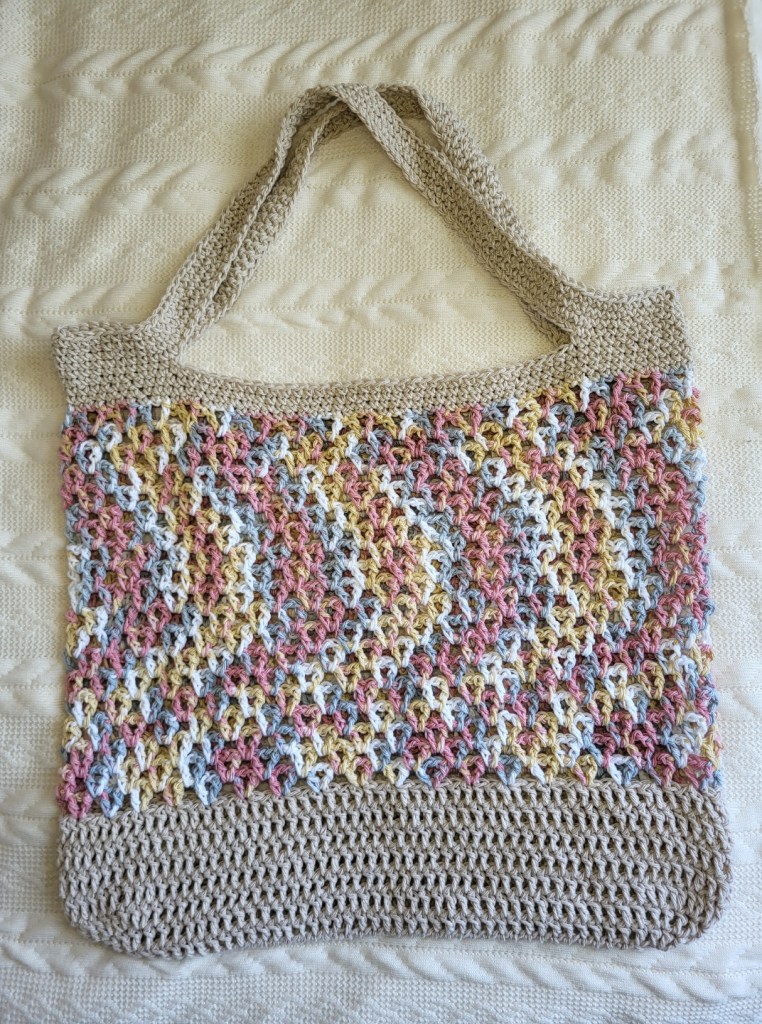
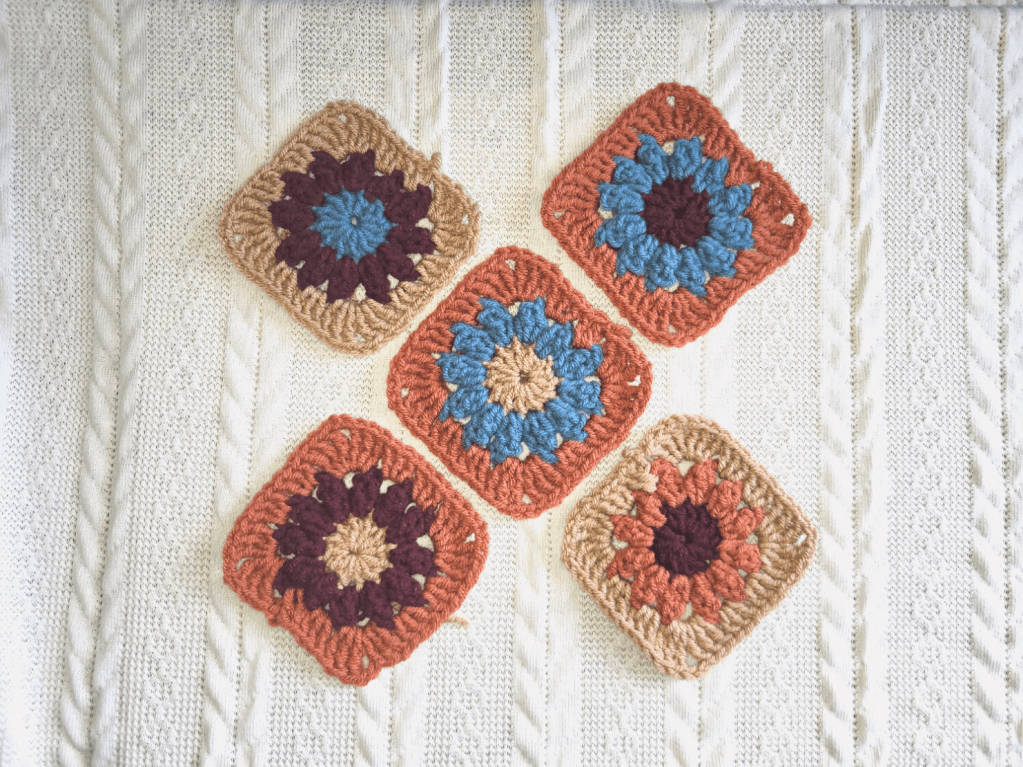
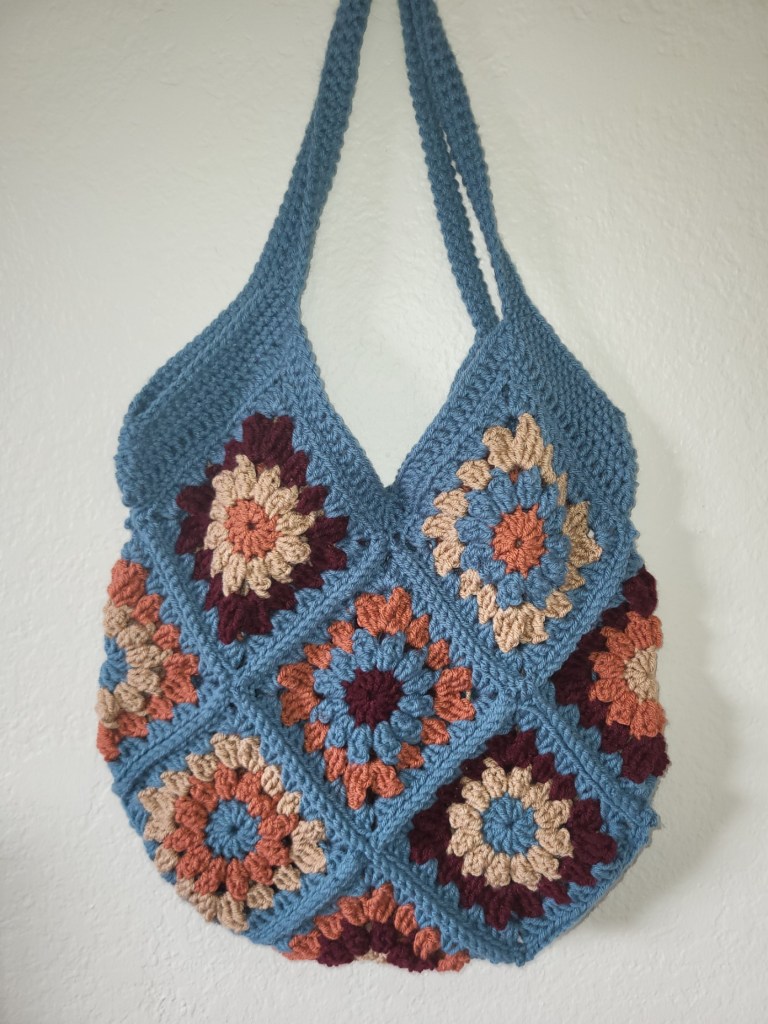
I was also intrigued by how the yarn colors pooled on the Multi Wildflowers yarn. I didn’t notice it while working up close with it but looking at the bag from far away created this really interesting pooling pattern. This encourages me to use this yarn for many more projects! That is, once my local store gets some more in stock!! 😆
Pattern:
Materials:
3 skeins Big Twist Cotton 107yd ea in multi wildflowers
2 skeins Big Twist Cotton 144yd ea in sand
Size 5mm Hook
Tapestry Needle
Yarn Scissors
Legend:
ch – chain
sc – single crochet
dc – double crochet
st – stitch
sp – space
sl st – slip stitch
sk st – skip stitch
Notes:
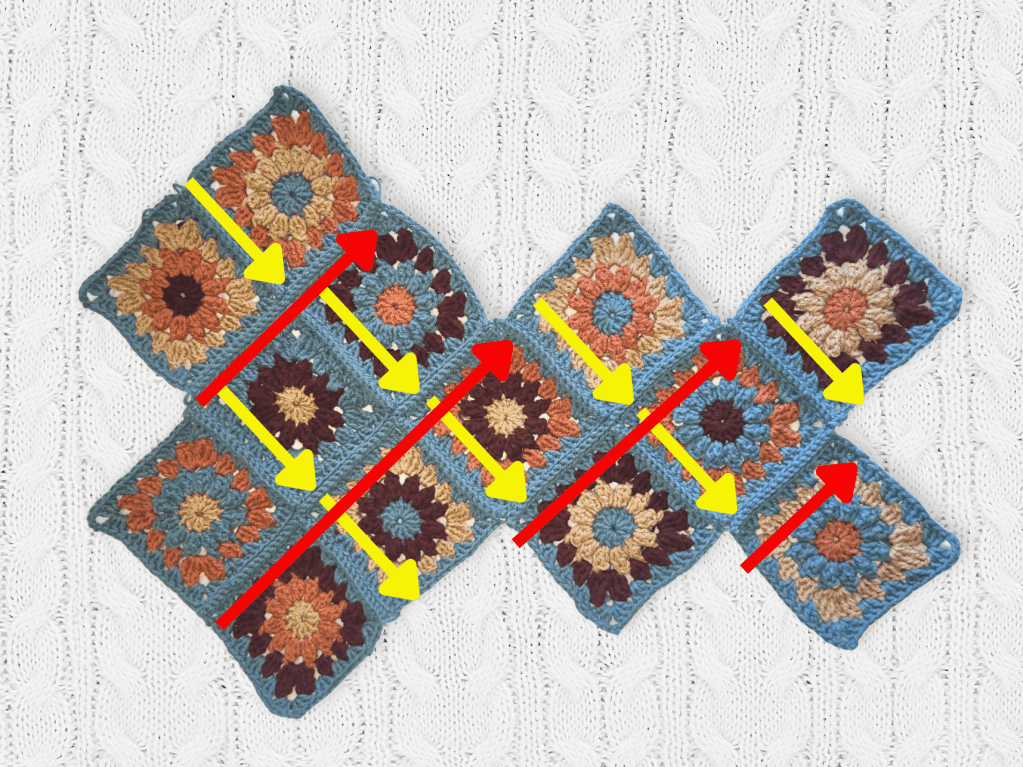
This bag is worked in the round from the bottom up. Variations include stopping at Round 24 and using your own handle either store-bought or made to complete the bag. You can adjust the width of the tote by starting with more or fewer chains or by working more increase rows before Row 4. You can adjust the length by working more v-stitch rows.
Finished Measurements:
Length: 15 inches
Width: 16 inches
Instructions:
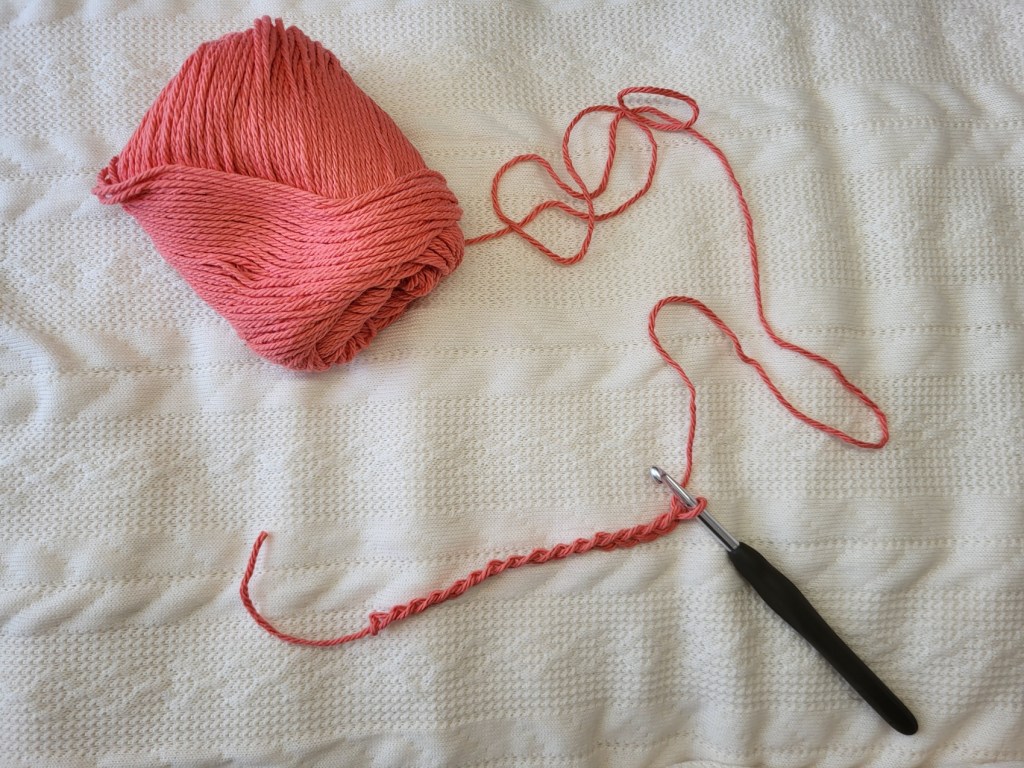
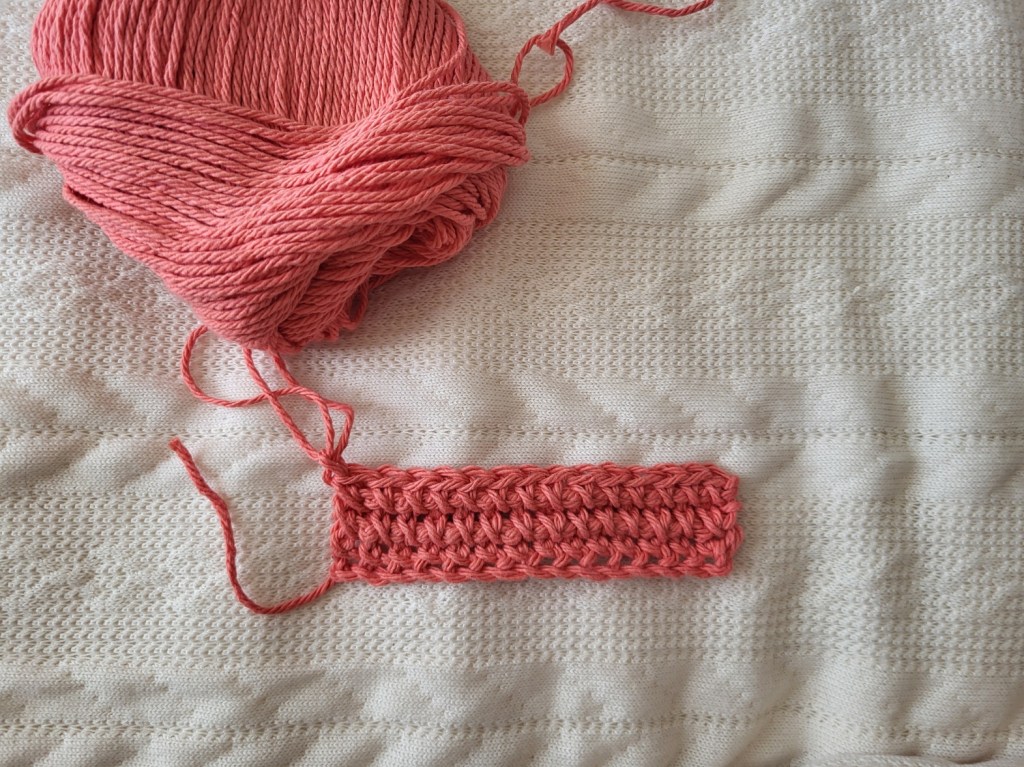
Ch 44
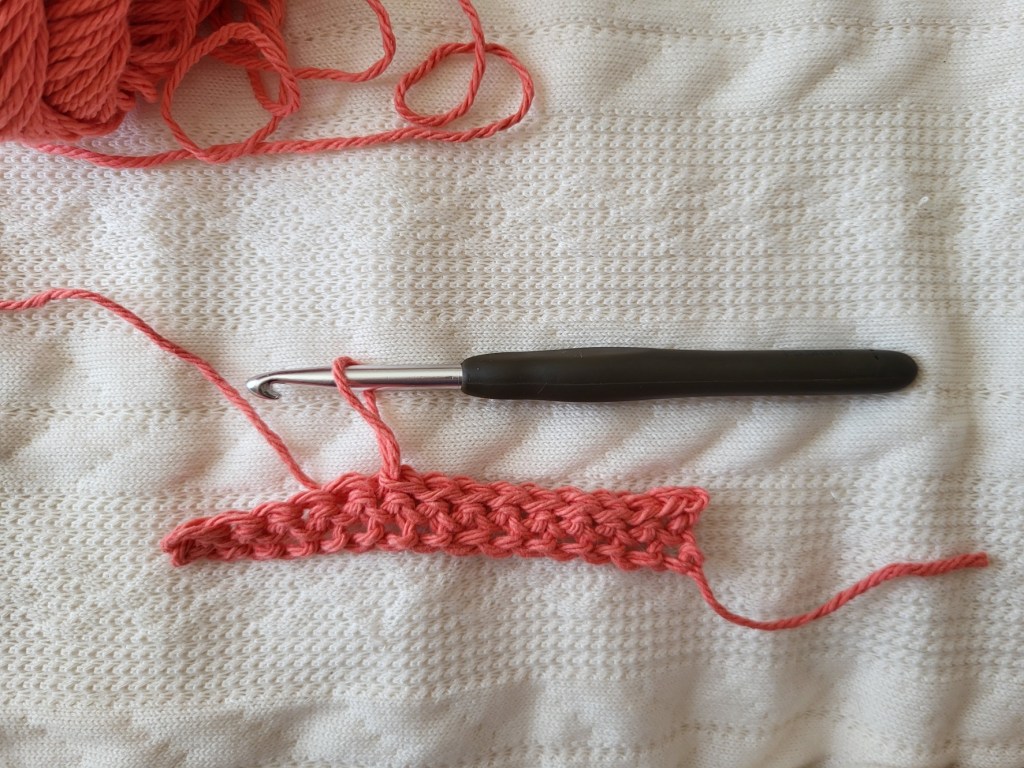
Round 1: in 1st ch, 3 dc, dc in each st across, 4 dc in last st, dc in each st on the opposite loop of the chain until you meet the 3ch’s from ch row, sl st to join
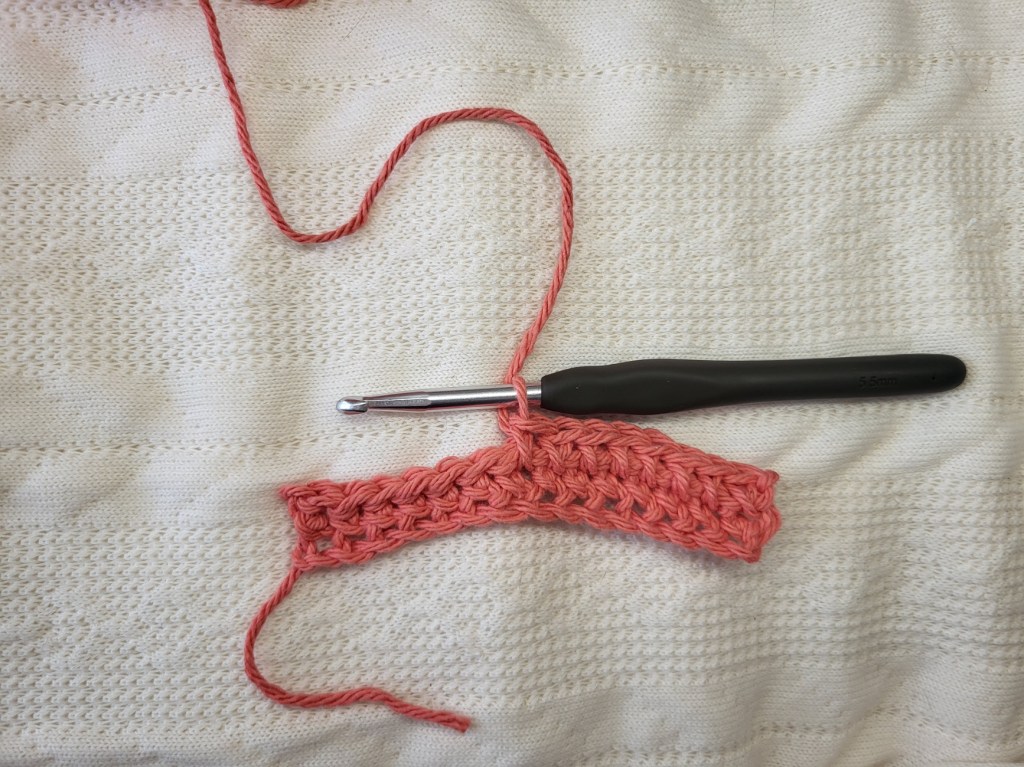
Round 2: Ch 3, 2dc in next 4 st (all st from 1st st in round 1) dc in each st to join until you reach the other end. 2 dc in next 4 st, dc in each st til start. sl st to join
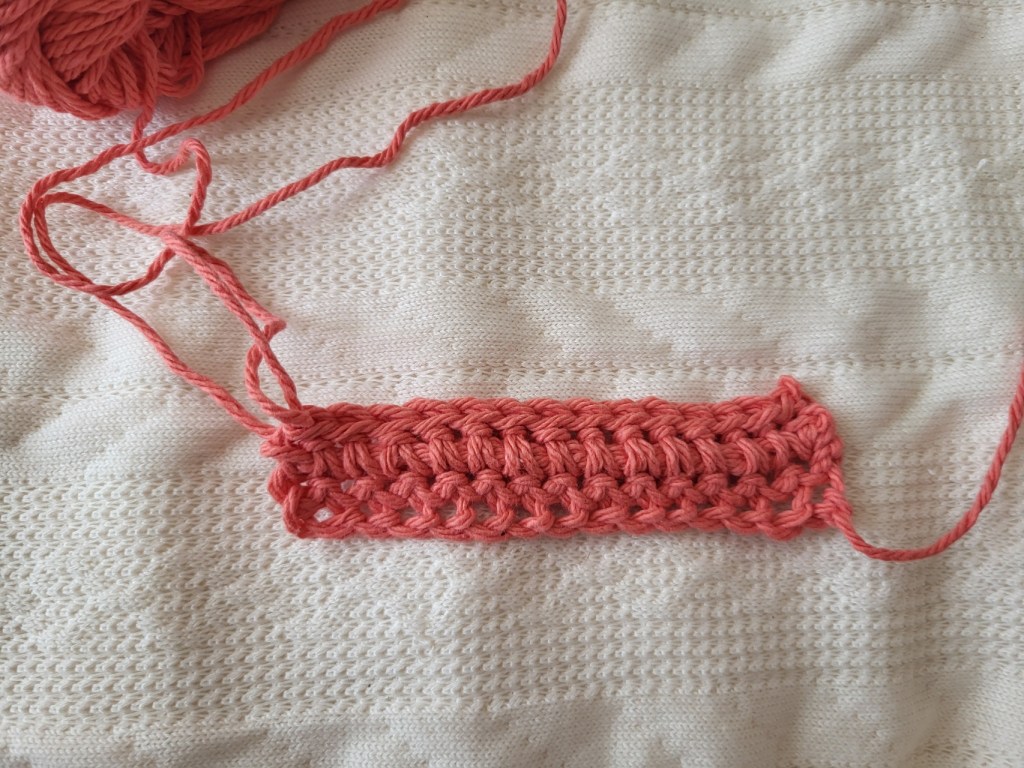
Round 3: Ch 3, 2dc in next 8 st, dc in each st to join until you reach the other end. 2 dc in next 8 st, dc in each st til start. sl st to join
Round 4 – 7: ch 3, dc in each st around, sl st to join
Round 8: Change colors, ch 5, [dc in same st, sk st, dc in next st, ch 2] rep til end, sk last st, sl st join on 3rd ch of 1st st.
Round 9: ch 3, [sk ch2 spc, 1 dc in sp between “V”‘s, ch 2, dc in same sp] rep til end, dc in same sp as beginning ch, ch 2, sl st to join
Round 10: ch 5, dc in same sp, [sk ch2 spc, 1 dc in sp between “V”‘s, ch 2, dc in same sp] rep til end, sl st join on 3rd ch of 1st st.
Repeat Round 9 then 10 until Round 19
Round 20: change color, ch 2, [sc3, sk st] rep til end, sl st to join
Round: 21-24: ch2, sc around
Place st markers at st 20, st 54, & st 74
Round 25: ch 2, sc 20, ch 60, sc in st 54 (2nd st marker) to join, sc 20, ch 60, sc in st before first st, sl st to join,
Round 26 to 29: ch 2, sc around
Tie off and weave in ends.